> For the complete documentation index, see [llms.txt](https://docs.artifactory.ai/llms.txt). Markdown versions of documentation pages are available by appending `.md` to page URLs; this page is available as [Markdown](https://docs.artifactory.ai/style-transfer-with-dreambooth.md).
# Style Transfer with Dreambooth
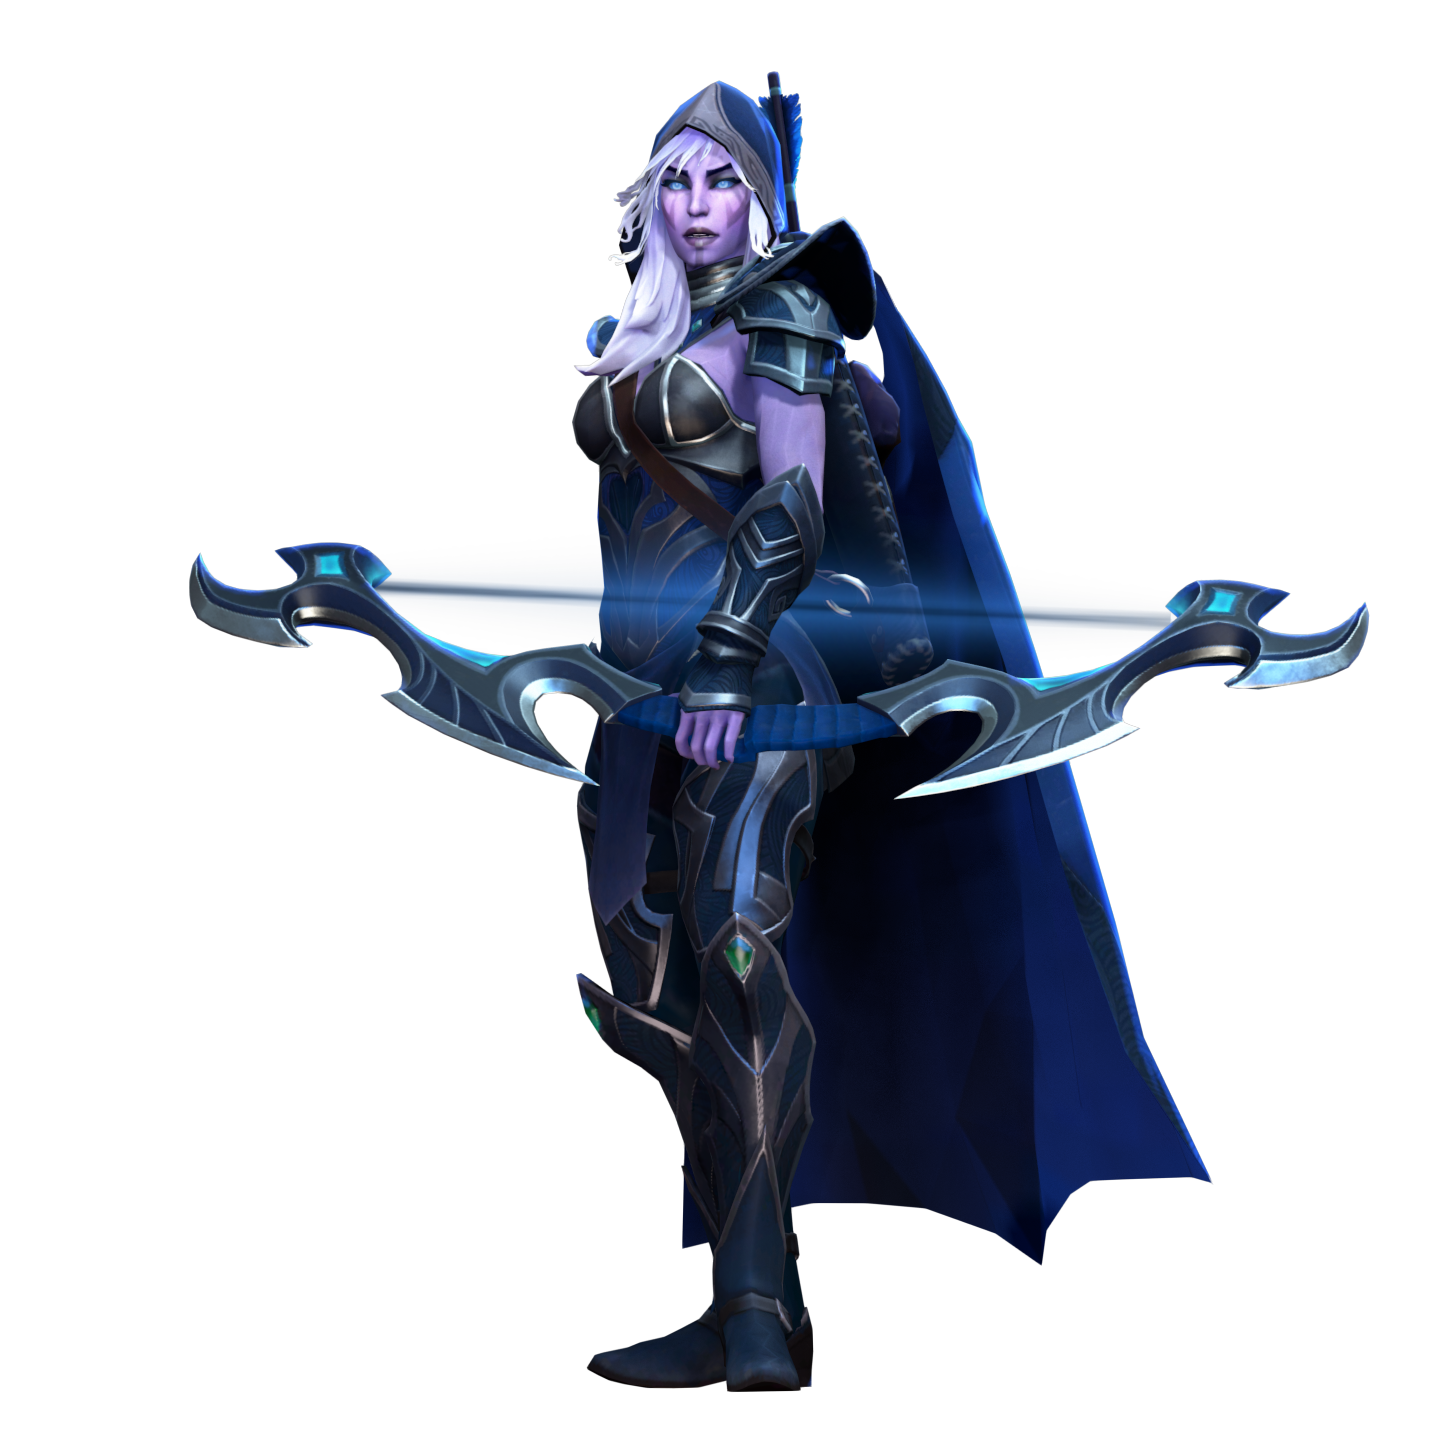
(Drow Ranger is the property of Valve Corporation.)
Today, there is a **unique** **way** to **modify**, **enhance**, and **generate** images using neural networks. One of the ways to do this is to use **Dreambooth**, which allows users to **fine-tune** models for different styles. This article is about training your model using [artifactory.ai](https://artifactory.ai/).
## About
The **Drow Ranger** character from **Dota 2** was the basis for this tuning. First, we will show you how and what kind of images the **original model** produces. Then you will see the output of the **trained model**. It demonstrates an **enormous improvement over the original model**.
## Model Creation
At this stage, we **create a new copy of the DreamShaper neural network** (a set of files weights **\~4 GB**, based on **Stable Diffusion 1.5**) to train it **for a particular style**. To continue, follow the next steps:
* Proceed to the **Dreambooth** tab
* In the **Model** section, go to the **Create** tab
* Create an arbitrary **Name** for your model
* Select the **DreamShaper** inside of the **Source Checkpoint** dropdown
* Press **Create Model** button
By the way, there is an **option** to check the processing progress in the **Logs** tab. While the generation is in progress, we can **upload the images** to the server.
## Preparing Data
It is worth starting with a **small dataset**, in our case: **1 picture** and **150 training steps**. If you have a good-quality image in the result, you can add more images, going from **1** to **4**, from **4** to **10**, and further. **Note** that the **uploaded images should look as different as possible** but in the right style for the user. **One last thing to mention** is that the data set must contain **1:1** images, e.g. **1024x1024**.
* Go to the **Files** tab
* Create **New Folder**
* Set **Folder name**
* Press **Create** button
Now the folder has been successfully created, and the last thing to do is to **upload the selected files**:
* Click the **Upload** button
* Select the desired **File**
* **Upload** files
## Configure Training
The most important part of the process is **setting the learning parameters**. Here we set the **token** used to identify **the style** and the **number of steps**.
### Concepts
Now we return to the **WebUI** section. As you can see, our model has already been successfully generated.
In the **Model** section, we can now go to the **Select** tab and check that the **correct one** has been selected. The next step is to set the **prompt** responsible for the style it will learn:
1. Select the **Concepts** tab
2. Go to **Directories**
3. Type “**mydataset**” into **Dataset Directory**
4. Go to **Training Prompts**
5. Type “**mskl**” into **Instance Prompt**\
**Note**: *you can use any **rare combination** of characters. In our case it is "**mskl**". It indicates your style for the model.*
6. Go to **Sample Prompts**
7. Type “mskl character, monotonic background” into **Sample Image Prompt**\
**Note**: *this is a Prompt that will generate test images during the training phase so that we can do a quality check*.
### Settings
This one is the hardest part. Try to go through all the steps carefully. **Training Steps Per Image (Epochs) parameter** determines the total number of steps the model will learn. If the dataset contains one image, a value of **150** will result in **150** training steps; if there are **10** images, **1.500** training steps will be performed. **Training affects** how well the model can learn from the given dataset.
1. Proceed to **Settings**
2. Set **Training Steps Per Image (Epochs)** to **150**
3. Remove the checkbox from **Gradient Checkpointing**
4. Type **Sanity Sample Prompt** in the **Image Processing** section
5. Type **mskl, pencil art**.\
**Note**: *this step is critical. Without it, the model will learn the image from the training data set.*
Scroll down, and select the **Advanced** dropdown to perform the following actions:
* Press the **Use Ema checkbox**
* Select **bf16** in **Mixed Precision**
* Set **xformers** in **Memory Attention** inside the **Tuning** section
### Saving
The trained model is compiled into a **.ckpt / .safetensors** file located in the **Models/Stable-diffusion** folder. The file contains all the weights of the neural network used to generate the images.
1. Proceed to **Saving**
2. Activate **Half model** checkbox
3. Click on **Generate a .ckpt file when training is canceled** checkbox
4. Mark **Generate a .ckpt when saving** checkbox
### Generate
This section describes how to **configure** the generation of pictures during training. The current step allows us to **control the quality of the training**.
1. Proceed to **Generate**
2. Choose the **Image Generation Library** inside **Class Generation Schedulers**.
3. Select **A1111 txt2img (Euler a)**
4. **Save** settings
5. Press the **Train** button and wait for the generating to complete.
### Trained Model
After the training, you can select the file with the trained model in the upper left corner and use it to generate images.
To **download** the generated model, do the following actions:
* Go to the **Models** section
* Locate and proceed to the **Stable-diffusion** folder
* Find **mskl\_150.safetensors** file
* Select it, then press **Download** (in the upper right corner of the screen)
## Conclusion
Let's compare the results produced by the original model and the trained version on the same prompt.
### Original
The first test of the prompt was in the standard **DreamShaper** model.
**Prompt**: *hero character by world of warcraft, in the style of light black and dark azure, realistic chiaroscuro lighting, frances macdonald, dynamic angles, uhd image, light silver and dark purple, contoured shading*
Original images generated with DreamShaper
### Trained Version
#### mskl:0.1
If you use a tuned model, you will get a result like this. The result is a mix of **WoW** and **Dota 2** styles (Drow Ranger). The parameter **(mskl:0.1)** is set to provide a better match to the trained style.
**Prompt**: *(mskl:0.1), hero character by world of warcraft, in the style of light black and dark azure, realistic chiaroscuro lighting, frances macdonald, dynamic angles, uhd image, light silver and dark purple, contoured shading*
#### mskl:1
Setting the processing parameter **(mskl:1)** will further adjust the image to the desired style.
Prompt: (mskl:1), hero character by world of warcraft, in the style of light black and dark azure, realistic chiaroscuro lighting, frances macdonald, dynamic angles, uhd image, light silver and dark purple, contoured shading
---
# Agent Instructions
This documentation is published with GitBook. GitBook is the documentation platform designed so that both humans and AI agents can read, navigate, and reason over technical content effectively. Learn more at gitbook.com.
## Querying This Documentation
If you need additional information that is not directly available in this page, you can query the documentation dynamically by asking a question.
Perform an HTTP GET request on the current page URL with the `ask` query parameter, and the optional `goal` query parameter:
```
GET https://docs.artifactory.ai/style-transfer-with-dreambooth.md?ask=&goal=
```
`ask` is the immediate question: it should be specific, self-contained, and written in natural language.
`goal` is optional and describes the broader end goal you are ultimately trying to accomplish on behalf of the user. GitBook uses it to tailor the answer towards what is most useful for that goal.
The response will contain a direct answer to the question and relevant excerpts and sources from the documentation.
Use this mechanism when the answer is not explicitly present in the current page, you need clarification or additional context, or you want to retrieve related documentation sections.